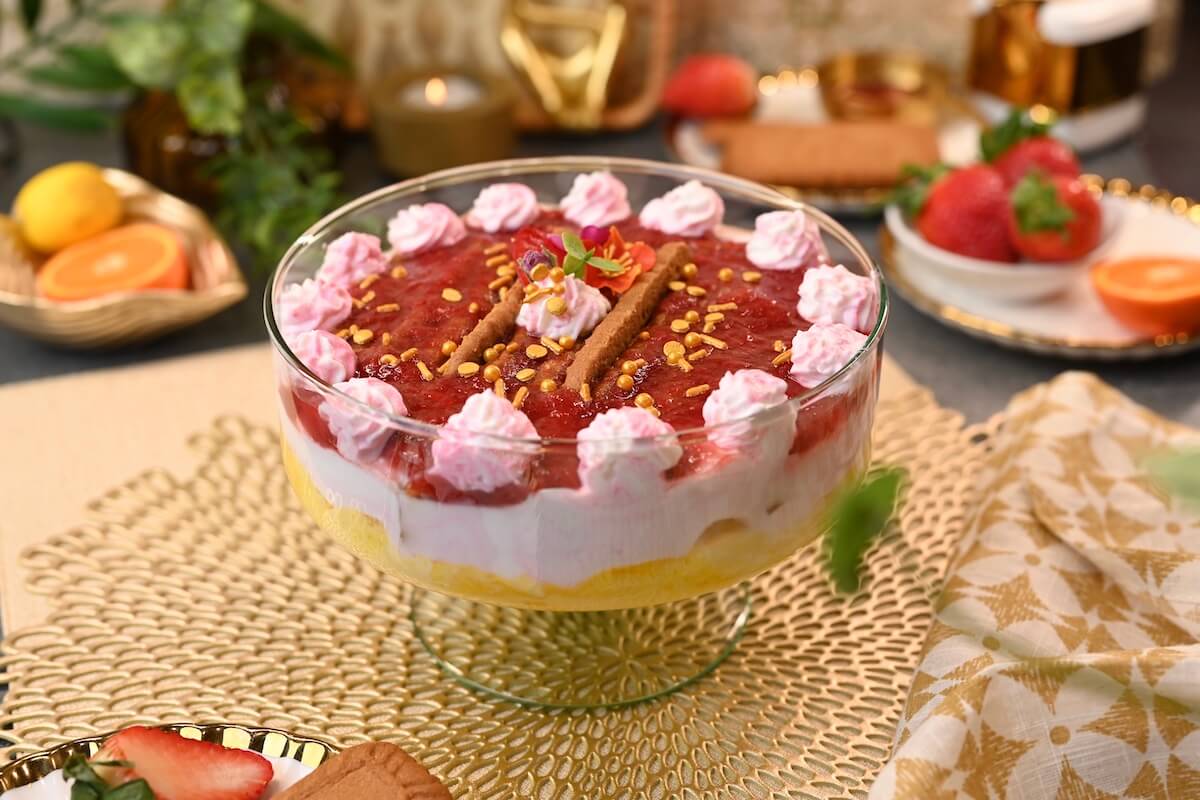
Strawberry Tiramisu — decadent, airy, and bright, this is a guaranteed way to steal someone’s heart this Valentine’s! With layers of vanilla whipped cream, juicy strawberries, and coffee-dipped ladyfingers, this is a no-bake dessert that’s ready to impress!
Tiramisu is one of my favorite deserts, and this version brightens it up with a fruity twist. With butter notes from the coffee and tartness from the strawberries cutting through the rich whipped cream, balance is this tiramisu’s speciality!
WATCH HOW TO MAKE STRAWBERRY TIRAMISU


Strawberry Tiramisu — decadent, airy, and bright, this is a guaranteed way to steal someone’s heart this Valentine’s! With layers of vanilla whipped cream, juicy strawberries, and coffee-dipped ladyfingers, this is a no-bake dessert that’s ready to impress!
- 16 oz heavy whipping cream , chilled
- 8 oz mascarpone cheese , at room temperature and whipped until smooth
- 1 tsp vanilla essence
- 1/3 cup powdered sugar or confectioners (icing) sugar
- 2 tsp instant coffee powder
- 1 tbsp brown sugar
- 1/2 cup hot water
- 16 ladyfinger biscuits , or any cookies or rusk
- 12 strawberries , finely diced
- strawberries , finely diced
- cocoa powder
- freeze dried strawberries , powdered
- golden sprinkles
- edible flowers
-
In a chilled bowl, gently whisk chilled heavy whipping cream using an electric whisker until soft peaks form. Add in the vanilla essence and powdered sugar in between whipping. Then, gently fold in your room temperature whipped mascarpone cheese. Let sit in the fridge.
-
To make the coffee syrup, mix the instant coffee powder, hot water, and sugar until dissolved. Let cool until ready to assemble.
-
To assemble the Strawberry Tiramisu, you can either use individual serving dishes or a larger dish. Fill your vanilla cream into a piping bag. Pipe a layer at the bottom of your dish.
-
Dip your biscuits in the coffee mixture and then place a layer on top. Pipe another layer of cream and gently add your chopped strawberries. Add in more cream to fill the dish and use a spatula to level the top.
-
To garnish, add diced strawberries, edible flowers, and a dusting of cocoa powder, freeze-dried strawberry powder, and golden sprinkles. Chill for at least an hour before serving and enjoy!
Recipe Video
- This can be made ahead a day before a party and kept in the fridge.
Subscribe to my YouTube Channel for step-by-step videos.
DID YOU MAKE THIS RECIPE?
Don’t forget to tag @naturallynidhi on Instagram and hashtag it #naturallynidhi. You can also post your pictures to my facebook page.
<
p style=”margin: 0; margin-bottom: 1.5em;”>I’d love to hear how the recipe turned out and what you think in the comment section below. Find me on ![]()
![]()
![]()
![]()
![]() and share your creation with me!
and share your creation with me!