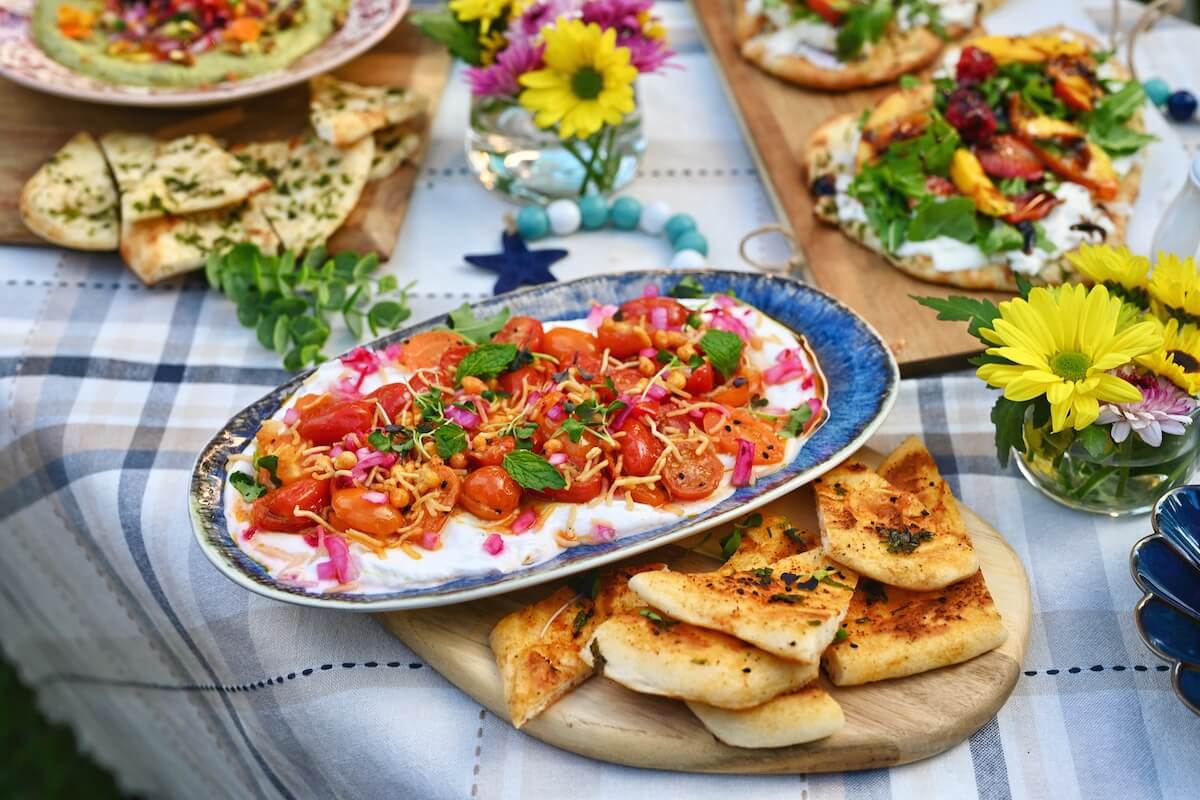
Chaat is one of those things that never fails to bring people together — it’s fun, flavorful, and endlessly customizable. This time, I took some of my favorite classic chaats and gave them a playful twist by turning them into a Personal Chaat Board.
- Kolkata Crostini Masala
- Avocado Bhel
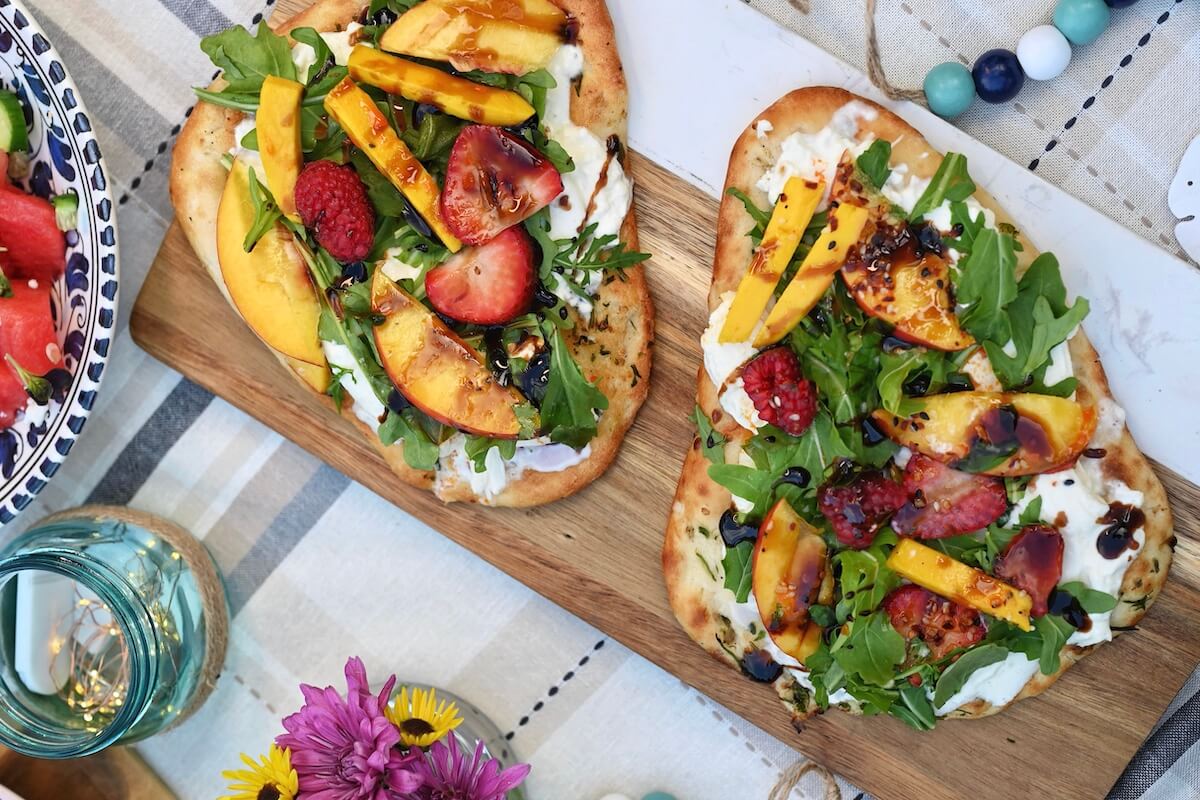
- Fruity Dahi Puri
WATCH HOW TO MAKE PERSONAL CHAAT BOARD:

On this board, I’ve included three creative chaat recipes that are full of texture, flavor, and nostalgia — all reimagined with a modern presentation. They can be served individually or styled as a beautiful board, ready to impress.
It’s the perfect idea for casual get-togethers, festive snacks, or even cozy nights in when you want to treat yourself to something fun and comforting — no cooking required!

Tips
- These chaats can be served as individual appetizers, or brought together as a personal or large board — perfect for entertaining.
- Prep ahead by making all the mixes earlier in the day, and assemble just before serving for the best texture.
- Use seasonal fruits and adjust spices to your taste.
- Great for parties, picnics, or just adding a festive touch to your evening!

If you like this, please try my other recipes:

A no-cook personal chaat board with a twist — featuring three street-style favorites reimagined my way. Easy to prep, fun to serve, and bursting with bold flavors in every bite!
- 2 medium potatoes , boiled & mashed
- 1/2 cup black gram (kala chana or black chickpeas) , boiled
- 1/4 cup onions , finely chopped
- 1/4 cup tomatoes , finely chopped
- 2 tbsp fresh coconut , grated
- 2 tbsp roasted peanuts , crushed
- 2 tbsp cilantro , finely chopped
- 1 tbsp tamarind chutney
- 2 tsp lemon juice
- 1 tsp mustard oil
- 1 tsp red chili powder
- 1/2 tsp roasted cumin powder
- 1/2 tsp chaat masala
- 1/4 tsp black salt
- salt , to taste
- garlic chutney , for spreading on bread
- 8 slices bread , cut in small squares, and grilled or toasted
- 2 cups bhel mix , puffed rice, sev, murmura blend
- 1 medium potatoes , boiled & chopped
- 1 medium tomatoes , chopped (de-seeded optional)
- 1 medium onions , chopped
- 2 green chilies , finely chopped
- 1 avocados , ripe & diced
- 1 tbsp tamarind chutney
- 2 tsp green chutney
- 1 tsp garlic chutney , optional
- 1 tsp lemon juice
- 1/2 tsp red chili powder
- 1/2 tsp roasted cumin powder
- 1/4 tsp chaat masala
- salt , to taste
- sev (bhujiya) , for garnish
- pomegranate seeds , for garnish
- 1 cup yogurt , whisked
- 1 tsp sugar
- 1/2 tsp roasted cumin powder
- pinch red chili powder
- salt , to taste
- 1 cup potatoes , boiled & mashed
- 1/2 tsp roasted cumin powder
- 1/2 tsp red chili powder
- 1/4 tsp black salt
- 1 tsp chaat masala
- salt , to taste
- 15 pani puri
- 1/2 cup seasonal mixed fruits , e.g. mango, oranges, strawberries – chopped
- 1/4 cup onions , finely chopped
- 2 tbsp mint cilantro chutney
- 2 tbsp roasted peanuts , crushed
- chaat masala
-
In a bowl, mix mashed potatoes, black chana, onions, tomatoes, coconut, peanuts, and cilantro.
-
Add tamarind chutney, lemon juice, mustard oil, and all dry spices. Toss well to combine.
-
To assemble, spread garlic chutney on toasted bread slices. Top with a spoonful of the masala mixture and garnish with herbs or microgreens, if desired.
-
In a large bowl, mix together bhel, potatoes, tomatoes, onions, green chilies, and spices.
-
Add the chutneys, lemon juice, and avocado. Toss gently to combine.
-
Serve in round moulds or small bowls. Garnish with bhujia and pomegranate.
-
Mix yogurt ingredients in a bowl and chill.
-
Prepare aloo masala by mixing all ingredients.
-
To assemble, spread some yogurt at the base, place puris on top, and fill with aloo masala.
-
Add green chutney, mixed fruits, and onions.
-
Top with more yogurt, crushed peanuts, and a final sprinkle of chaat masala.
Recipe Video
- These chaats can be served as individual appetizers, or brought together as a personal or large board — perfect for entertaining.
- Prep ahead by making all the mixes earlier in the day, and assemble just before serving for the best texture.
- Use seasonal fruits and adjust spices to your taste.
- Great for parties, picnics, or just adding a festive touch to your evening!
Subscribe to my YouTube Channel for step-by-step videos.
DID YOU MAKE THIS RECIPE?
Don’t forget to tag @naturallynidhi on Instagram and hashtag it #naturallynidhi. You can also post your pictures to my facebook page.
I’d love to hear how the recipe turned out and what you think in the comment section below. Find me on ![]()
![]()
![]()
![]()
![]() and share your creation with me!
and share your creation with me!