Tandoori Paneer Rice Balls ✨ The holiday season is all about food that brings people together, and these Tandoori Paneer Rice Balls are the perfect crowd-pleasing appetizer for that!
Crispy on the outside, soft and cheesy inside, finished with a smoky elaichi dhungar and served with a festive cranberry chutney, it’s perfect for holiday gatherings and parties!
WATCH HOW TO MAKE TANDOORI PANEER RICE BALLS:


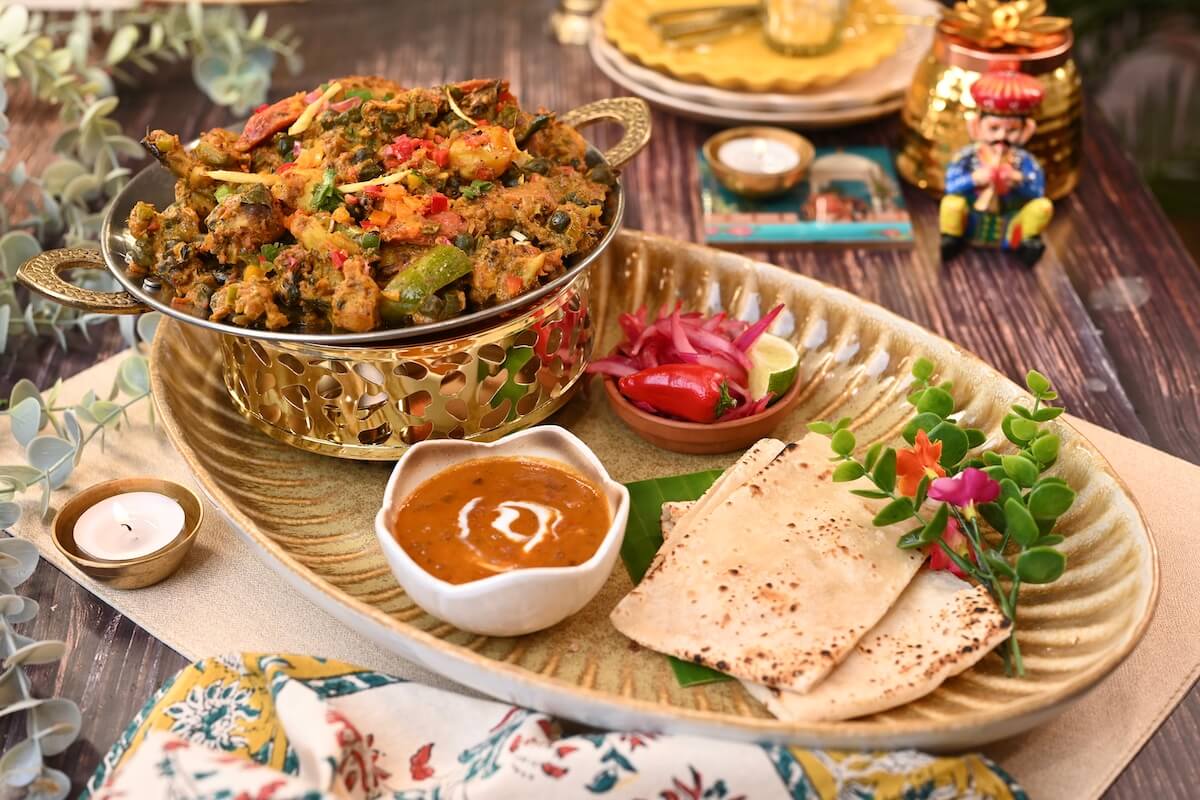
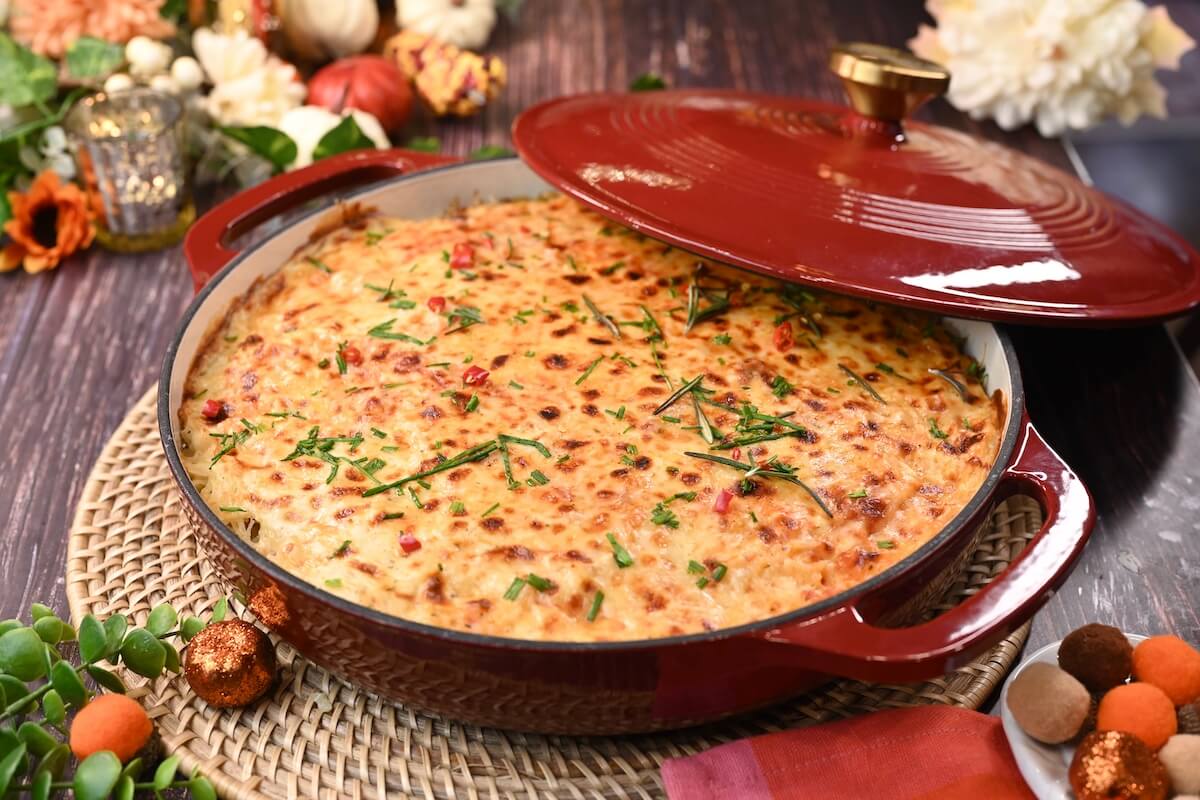
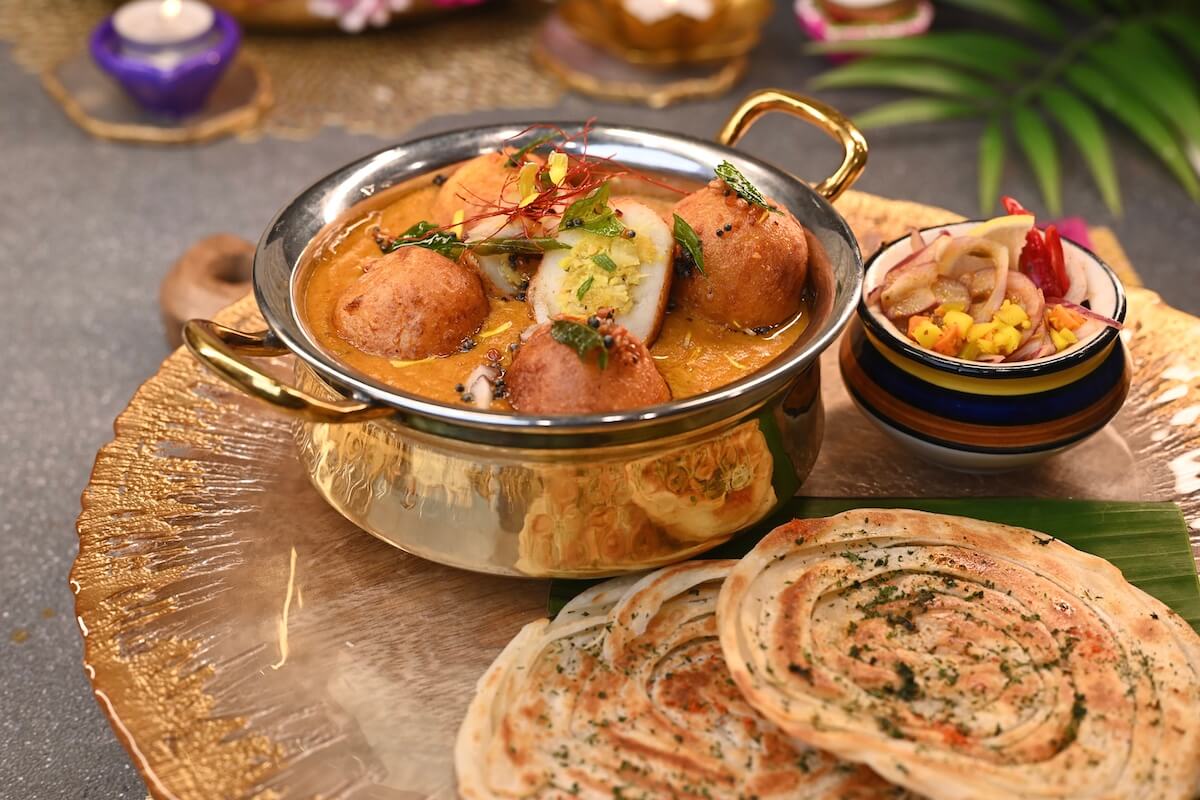
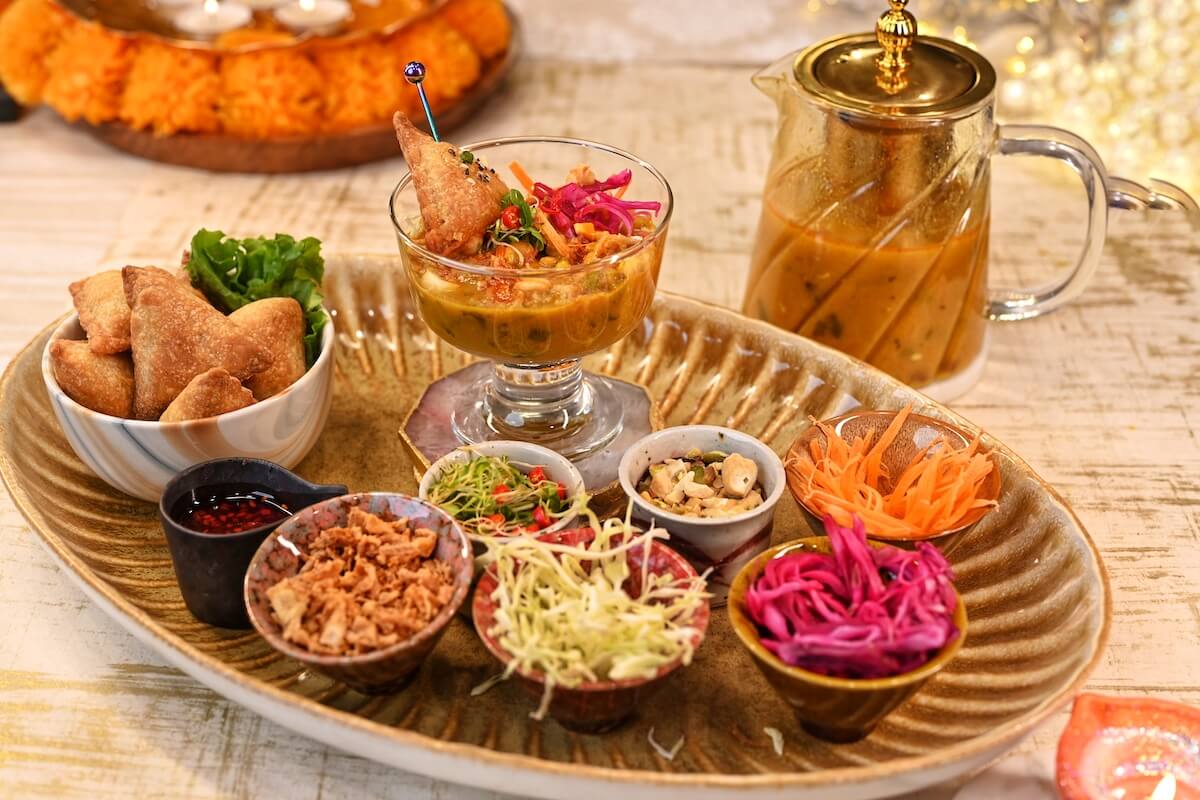
If you like this, please try my other recipes:

Tandoori Paneer Rice Balls ✨ Crispy on the outside, soft and cheesy inside, finished with a smoky elaichi dhungar and served with a festive cranberry chutney, it’s perfect for holiday gatherings and parties!
- 1/2 cup rice , washed
- 1 1/2 cups water
- 1 tbsp ghee
- whole spices , 1 green cardamom, 1 clove, 1 small bay leaf, a very small piece of javitri and cinnamon stick
- salt , to taste
- 1 1/2 cups grated paneer or chenna
- 1 1/2 tbsp onions , finely chopped
- 1 1/2 tbsp mixed bell peppers , finely chopped
- 3 tbsp yogurt
- 1 tbsp ginger garlic green chili paste
- 1 tbsp roasted besan (gram or chickpeas flour) , or sattu flour
- 1 1/2 tsp kasoori methi crushed
- 1/2 tsp carom seeds (ajwain)
- 1 tsp kashmiri red chili powder
- 1/2 tsp red chili powder
- 1/4 tsp garam masala
- 1/2 tsp roasted cumin powder
- 1 tsp salt , adjust to taste
- 1 1/2 tbsp mustard oil , heated
- 1 small piece of hot coal
- 1 tsp ghee
- 1/2 tsp crushed cardamoms , or 1/4 tsp cardamom powder
- 2 tsp ghee
- 1 ½ tbsp onions , finely chopped
- 1 ½ tbsp mixed color bell peppers , chopped
- 2 tsp lemon juice , adjust to taste
- 2 tbsp cilantro , finely chopped
- melty cheese , as needed (for filling)
- slurry , ¼ cup all-purpose flour mixed with ¼ cup water
- breadcrumbs
- oil , for frying
- cilantro mint yogurt dip
- pickled onions
- green or red chilies
- chaat masala
- microgreens
- edible gold dust , optional
- 1 cup cranberries
- 1/4 cup sugar adjust to taste
- 1 tbsp orange or lemon zest
- spices ½ tsp salt, ½ tsp chaat masala, ¼ tsp garam masala, ½ tsp ginger powder
-
Heat ghee in a pan and add the whole spices. Sauté briefly till aromatic. Add the washed rice, salt, and water. Cover and cook till the rice is soft and nicely done. Keep aside to cool.
-
In a bowl, add yogurt followed by all the spices. Add roasted besan or sattu flour. Pour hot mustard oil over the mixture and mix well to form the marinade.
-
Add the grated paneer or chhena along with the chopped onions and bell peppers. Mix gently, cover, and let it rest while you prepare the cranberry chutney.
-
In a pan, add cranberries, sugar, citrus zest, and spices. Cook on medium flame till the cranberries soften and the chutney turns glossy. Switch off the heat and keep aside.
-
Heat 2 tsp ghee in a pan and add the marinated paneer mixture. Sauté on medium flame for 5–6 minutes till everything comes together.
-
Switch off the heat. Add the remaining onions and bell peppers, a squeeze of lemon juice, the soft cooked rice, and chopped cilantro. Mix gently till evenly combined.
-
Place a hot coal in a small heatproof bowl and keep it in the center of the pan. Pour ghee and add crushed cardamom or cardamom powder over the coal. Cover immediately and let the mixture absorb the smoky aroma. Remove the coal.
-
Once the mixture cools completely, divide it into equal portions. Fill each portion with melty cheese and shape into round balls.
-
Mix all-purpose flour and water to make a smooth slurry. Dip each ball into the slurry, roll in breadcrumbs, and deep-fry in hot oil till golden and crispy. Drain on absorbent paper.
-
Serve as individual portions or on small platters. Swirl cranberry chutney on the base, place the paneer rice balls, and finish with cilantro mint yogurt dip, pickled onions, green chilies, chaat masala, microgreens, and edible gold dust if using.
Recipe Video
Subscribe to my YouTube Channel for step-by-step videos.
DID YOU MAKE THIS RECIPE?
Don’t forget to tag @naturallynidhi on Instagram and hashtag it #naturallynidhi. You can also post your pictures to my facebook page.
I’d love to hear how the recipe turned out and what you think in the comment section below. Find me on ![]()
![]()
![]()
![]()
![]() and share your creation with me!
and share your creation with me!